|
|
|
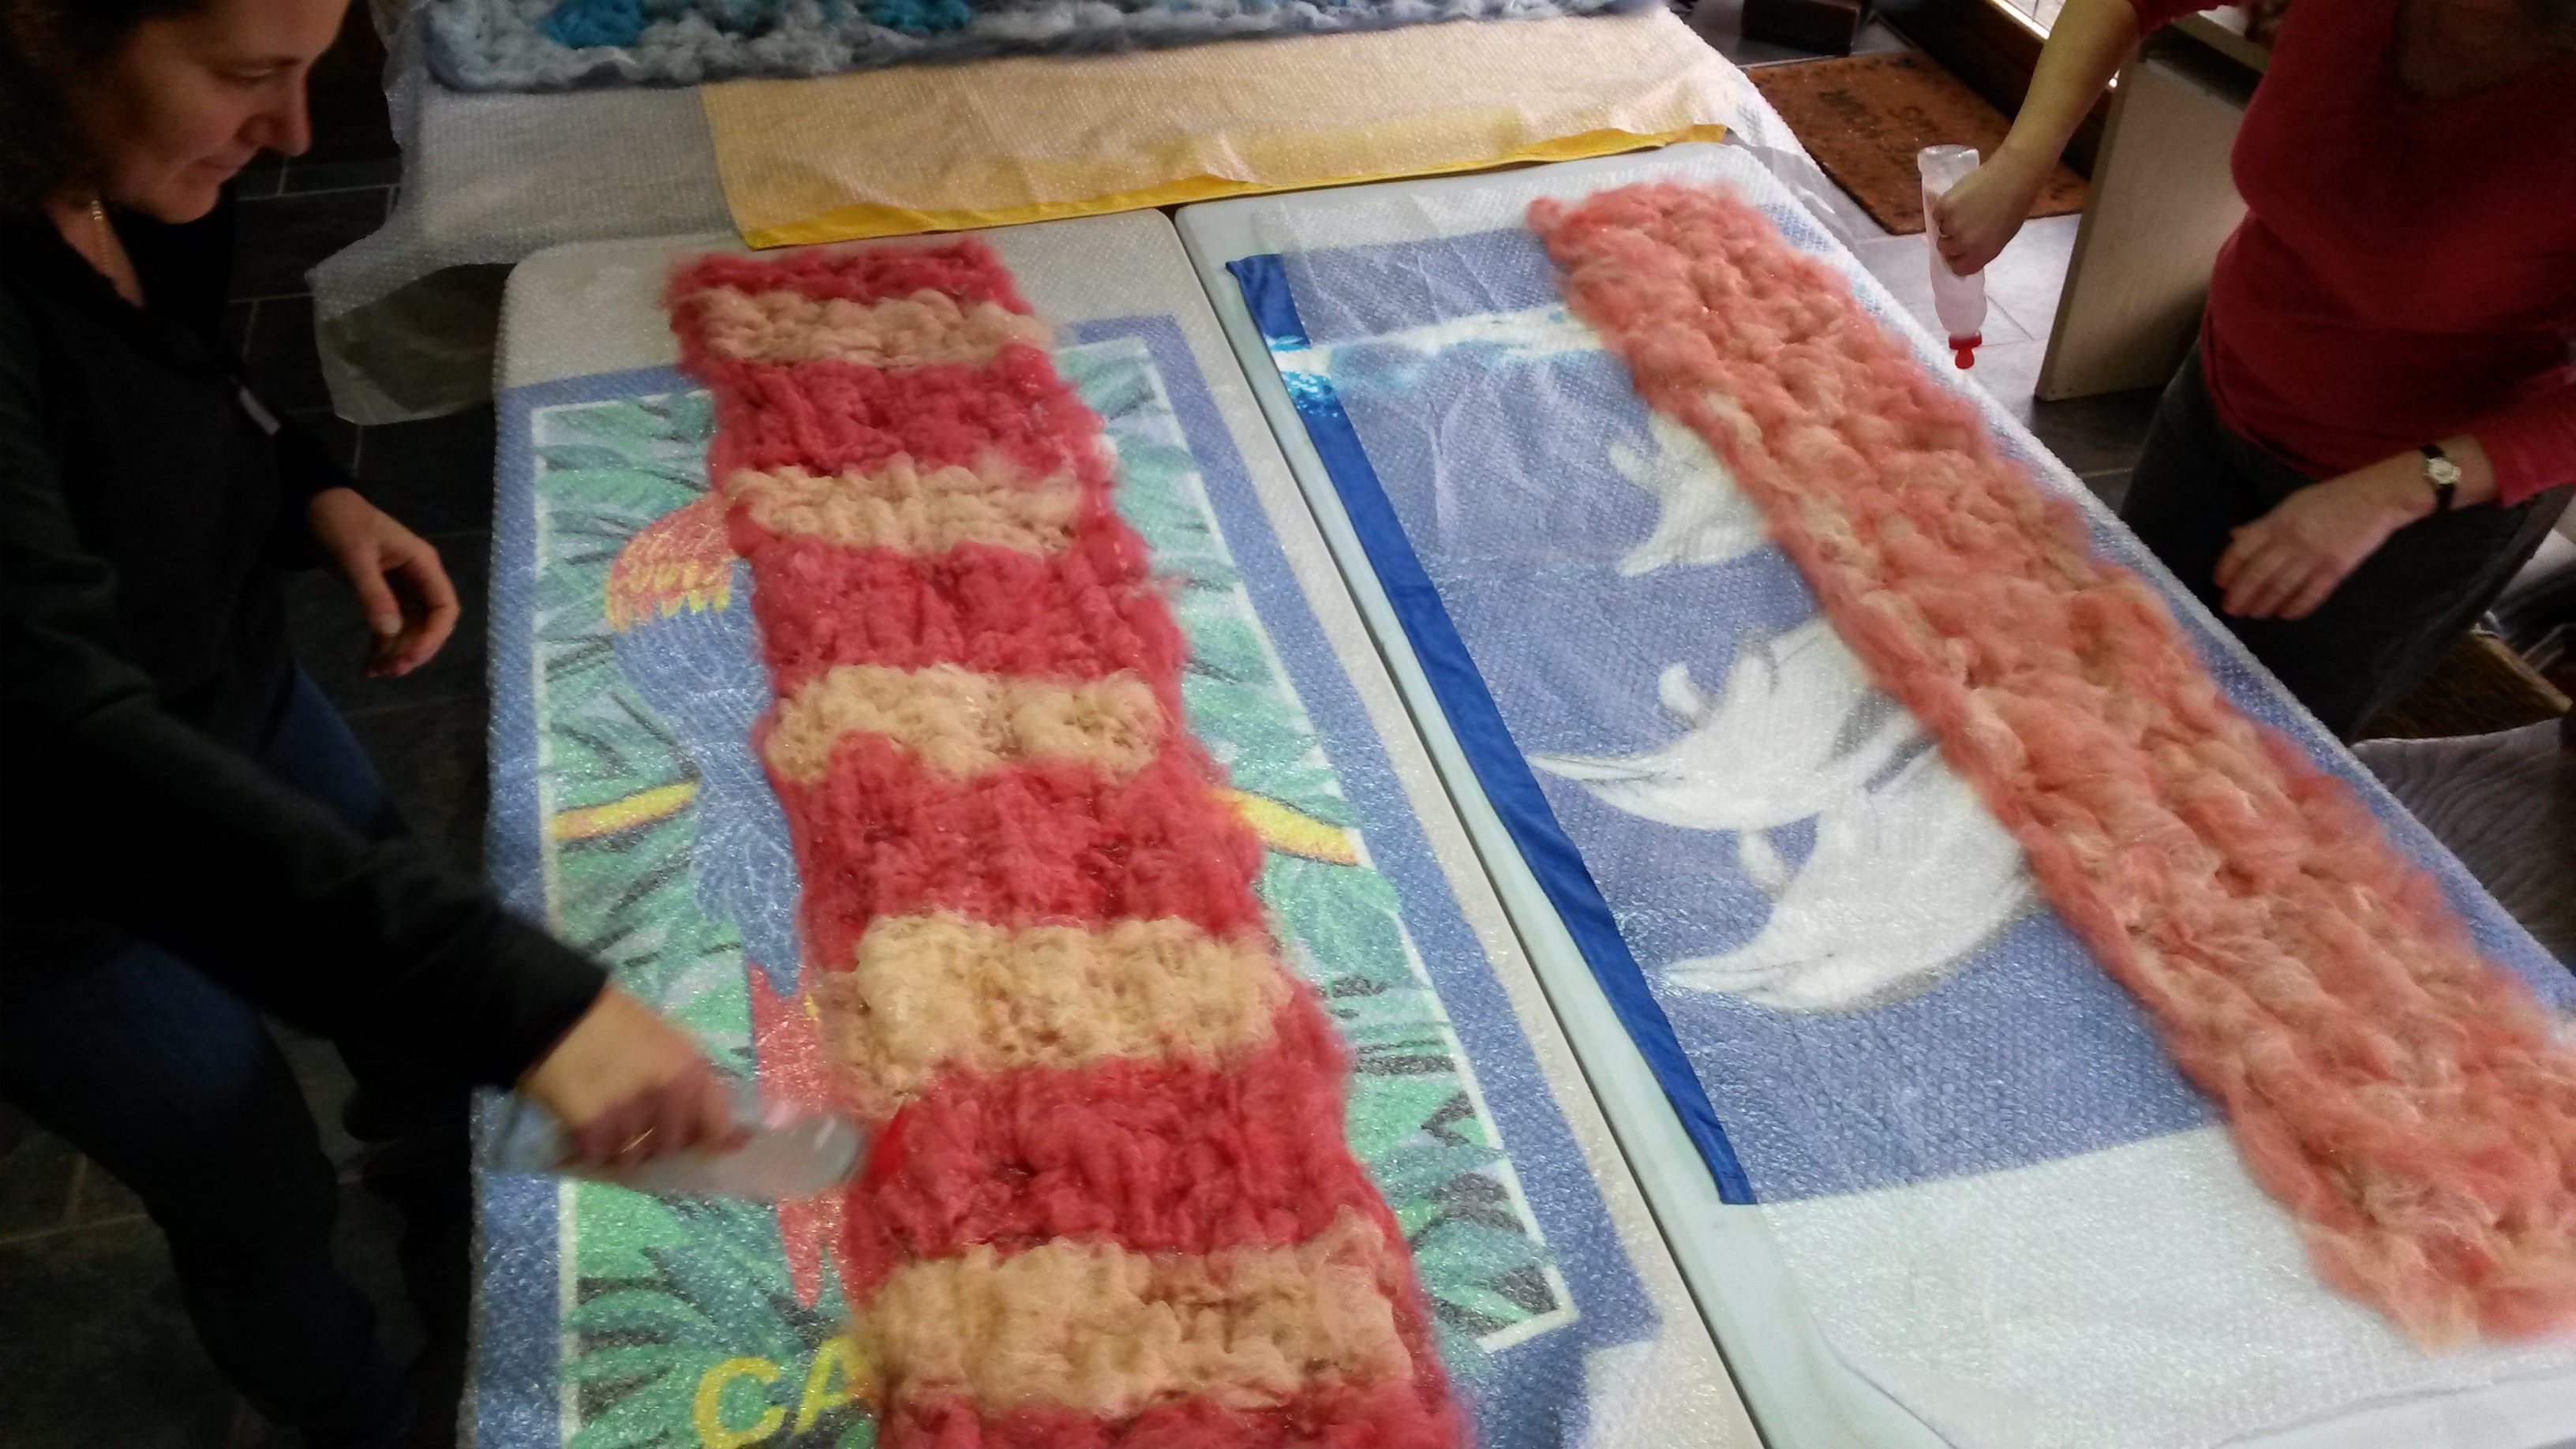
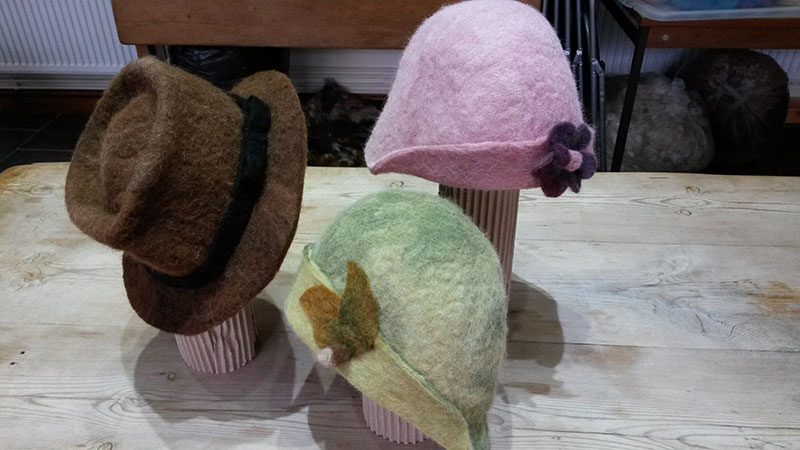
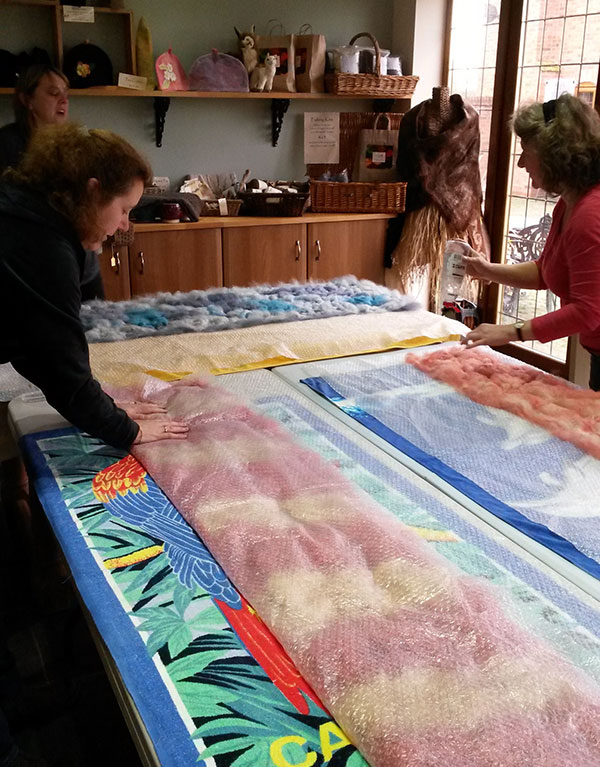
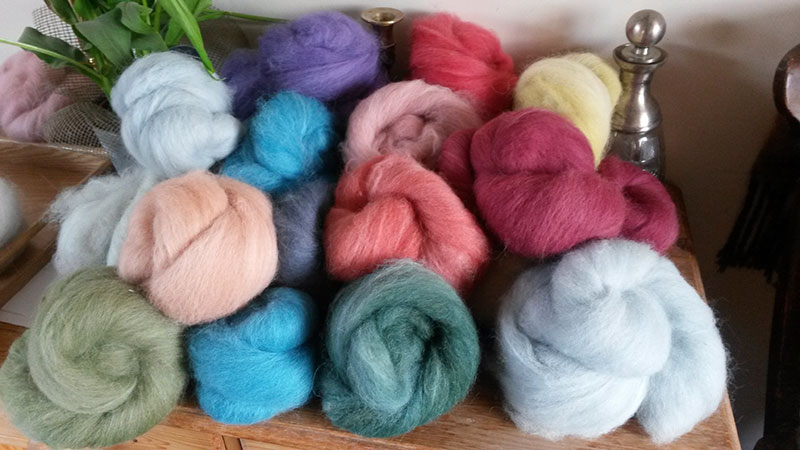
Alpaca Felting for Beginners Alpaca fleece is wonderful for felting projects as it is so soft with less of the “tickle factor” of sheep’s wool and as the fibres are hollow it gives an amazingly warm and light finish. Felt is the oldest form of fabric known to mankind and consists of layers of fibre that have been agitated and compressed until the fibres lock together forming a mat. This most versatile of processes shows you how to create flat felt such as a scarf using wet felting techniques in our half or full day workshops. Then after a home cooked lunch, if you are staying for the full day, the opportunity to try your hand at needle felting a picture panel. Having learned the basics you can easily practise your skills at home with fibre and kits available to buy at the time. And if your interest is piqued, we offer more advanced courses moving on to making 3d wet felted items such as hats and slippers. Below are some basic tips to help you get started. There are many websites on the topic and one of my favourites is www.owning-alpaca.com as they give lots of ideas and some free patterns. Laying out the Fibre Work on a surface that won’t come to any harm if it gets wet. Now start by laying out some bubble wrap large enough to fold back over your project without folding over the fibre. Then place a thin layer of fibre on the bubble wrap, making it about 30% bigger than the desired finished piece (it shrinks during the felting process) and repeat the process laying the fibre at 90 degrees to the first. Try and keep the layers even with no thin spots as these will turn into holes later. Several thin layers are better than two thick ones; how many you use depends on how thick you want your project to be. Alpaca thickens up very nicely during the fulling stage so we find that two layers for finer projects like scarves, works fine, or 3-4 layer for most other projects. Just remember to alternate directions by 90 degrees for each layer when laying out the fleece. You can use different colours to create some interesting effects. Felting Process Now fill a hand spray bottle with very hot water and put in a few squirts of washing up liquid. Use this to spray the fibre until it is thoroughly wetted but not running with water. Alternatively you can put a “screen” over the top such as a net curtain or thin cloth to hold the fibre in position whilst you use a soapy damp sponge to press all over the fleece to wet it. Next fold over the bubble wrap and gently start to press down the fibre and rubbing very gently to start. Check periodically to see that the fibres are starting to stick together; as they do you can begin to apply more pressure and agitate more fiercely. When you can pinch the fibre and it stays together, turn in any loose edges. Cover over again and rub gently until the edges felt. Fulling Felting wool has a final stage: Fulling, which removes air between the fibres making them tighter fitting and your finished felt thicker and stronger. If you used a screen, remove it now and fold the bubble wrap back over. Then roll the whole thing - fibre and bubble wrap into a sausage and roll backwards and forwards vigourously. Unwrap and roll up longways and repeat so that you get even shrinkage in all directions. How do you know when it is done fulling? This depends on how strong or drapey you want the final piece to be. If making insoles or a teacosy for example or something that needs to be quite strong, if when you pull on your felt and it stretches, it is not done. You must continue to felt it until it is firm. If however you are making a fine cobweb scarf, then if you full it too much it will become too stiff to drape nicely. Practise on small pieces of felt before taking on a larger project to get a feel for how many layers to use and how much rolling you require to achieve the desired finish. Finishing When you have finished the fulling process you need to completely rinse out the soap with cool water. Leaving soap in could damage the fibres making them brittle or they may even disintegrate over time. Never wring your felted wool. Just gently squeeze out excess water. To speed drying, you can roll your felt in a towel to remove more water. Wool has an excellent memory and it will hold whatever shape you dry it in. You can "set" it by ironing at this stage with a hot dry iron. Give it about 24 hours to completely dry. Now that you have mastered your wet felted wool, your projects will be high quality. Friends and family will love receiving your felted gifts. Have fun creating great felt. Book here |
|
Book Online
Copyright © 2009 - 2026 Simply Alpaca All rights reserved | Site design by KiiRO Creative
The content on this website is owned by SimplyAlpaca. You are not permitted to copy, reproduce or abstract any content (including images) without our written consent. Licensed by Wychavon District Council under The Animal Welfare Act (Licensing of Activities Involving Animals) (England) Regulations 2018 | License Number: 22/05437/ANIACT |